As a parent navigating life in a small-space home, your infant bouncer seat likely serves as a quiet sanctuary during busy days. That neutral-colored seat tucked in the corner offers precious hands-free minutes, but knowing exactly when to stop using it keeps your calm routine truly safe. Let's explore how to honor both your space constraints and your baby's developmental journey with clear, repeatable steps that protect without panic.
Why Bouncer Safety Matters for Small-Space Living
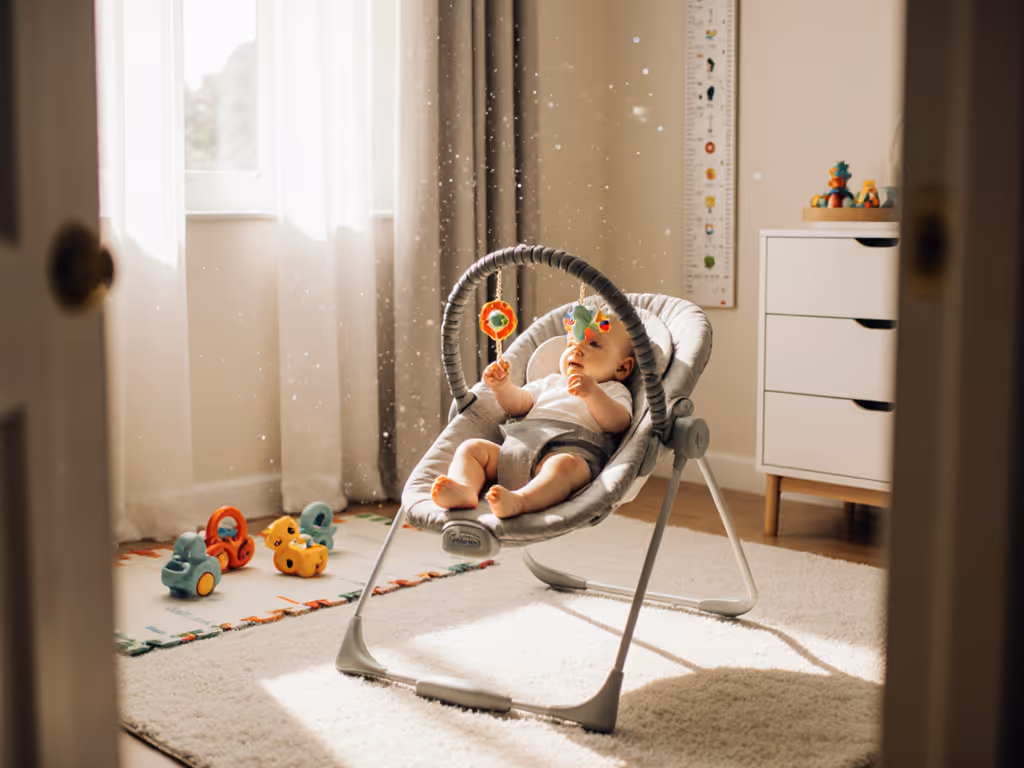
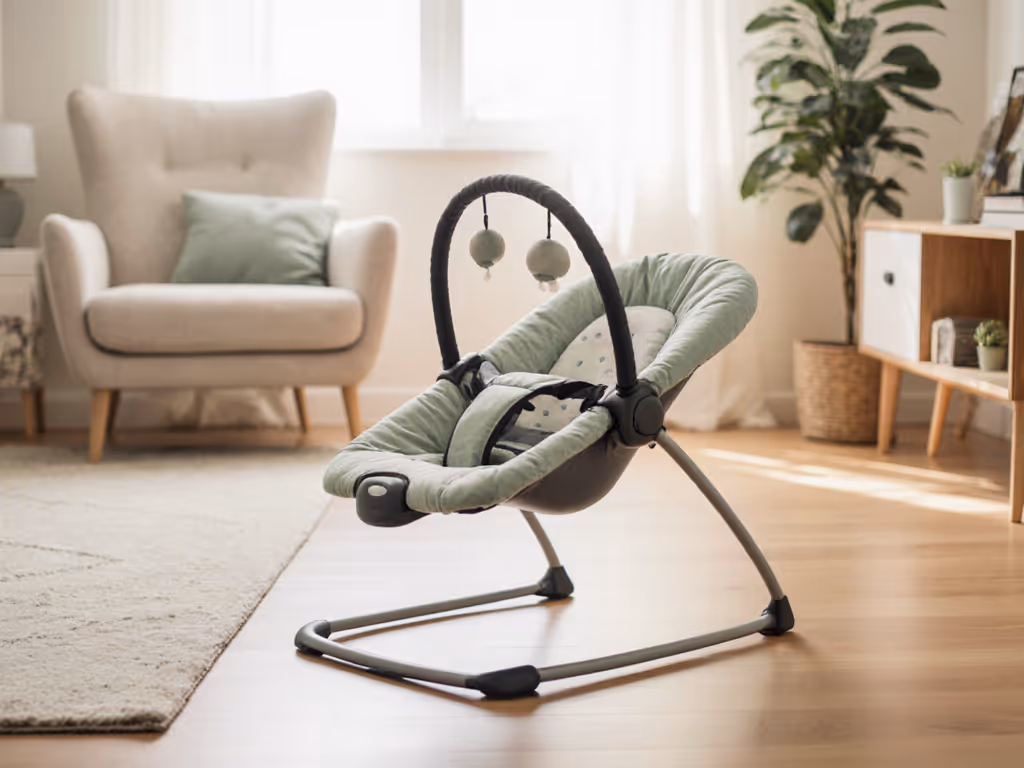
In cramped quarters, every item earns its place through purpose. Your infant bouncer seat isn't just a spot for baby to rest, it's a space-saving tool that lets you chop vegetables or take a work call without crossing the room. But when that bouncer becomes a hazard instead of a helper, it shatters the calm you've worked so hard to build.
Recent data shows 347 incidents involving bouncer seats between 2006-2016, including 12 fatalities. Most occurred when babies were placed on soft surfaces (like beds) or left unrestrained. As someone who's navigated thin walls and limited floor space with two young children, I know the temptation to place a bouncer on the sofa for quick access. But physics doesn't care about convenience (only stable surfaces do).
Two-song windows beat twenty-feature remotes, every single time. That's why we focus on simple, repeatable safety steps rather than complicated gear.
Step 1: Track Your Baby's Developmental Milestones (Not Just the Calendar)
Stop using your infant bouncer seat when any of these happen (regardless of age):
- Baby shows first attempts to sit up unassisted (even if they collapse immediately)
- Baby exceeds 20 pounds (or the manufacturer's specific weight limit, whichever comes first)
- Baby consistently rolls over independently
These aren't arbitrary cut-off points. When babies develop the ability to shift positions, the static design of bouncers creates dangerous instability. A mobile infant can wedge limbs against the seat, tip the unit, or position themselves in ways that restrict breathing.
Watch for subtle signs: your baby might start "pushing up" on extended arms during tummy time, or attempt to pivot their hips while seated. These tiny movements signal it's time to reset the room.
Step 2: Daily Safety Check for Small Spaces
Create a 10-second morning ritual to verify your bouncer's safety:
-
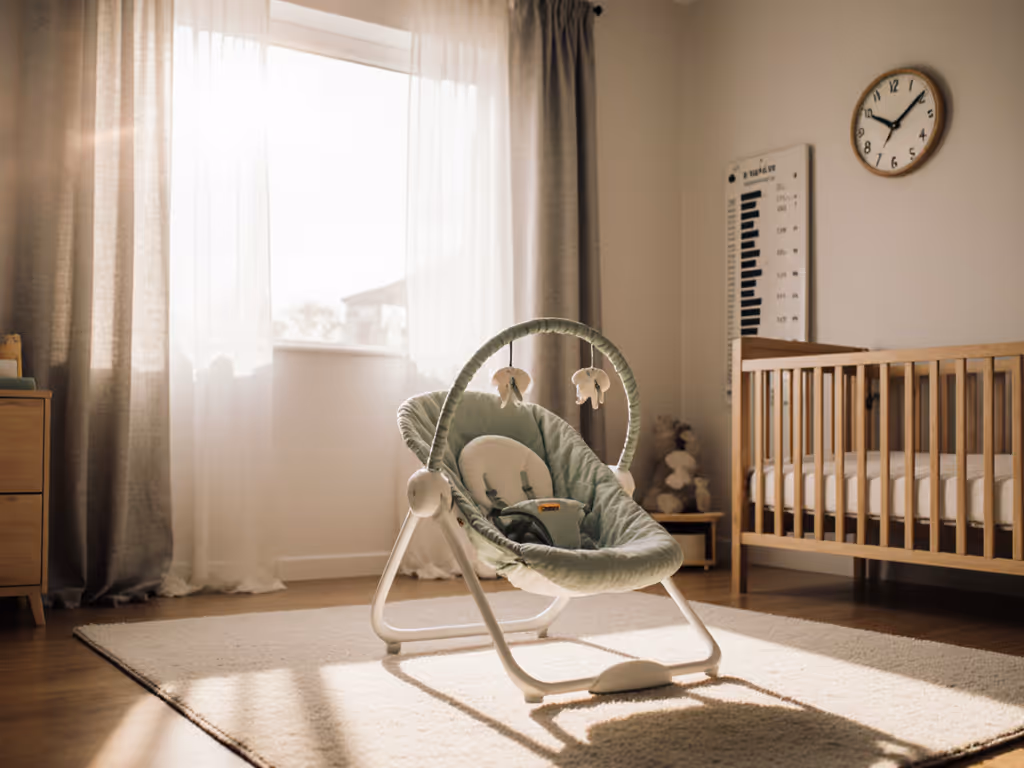
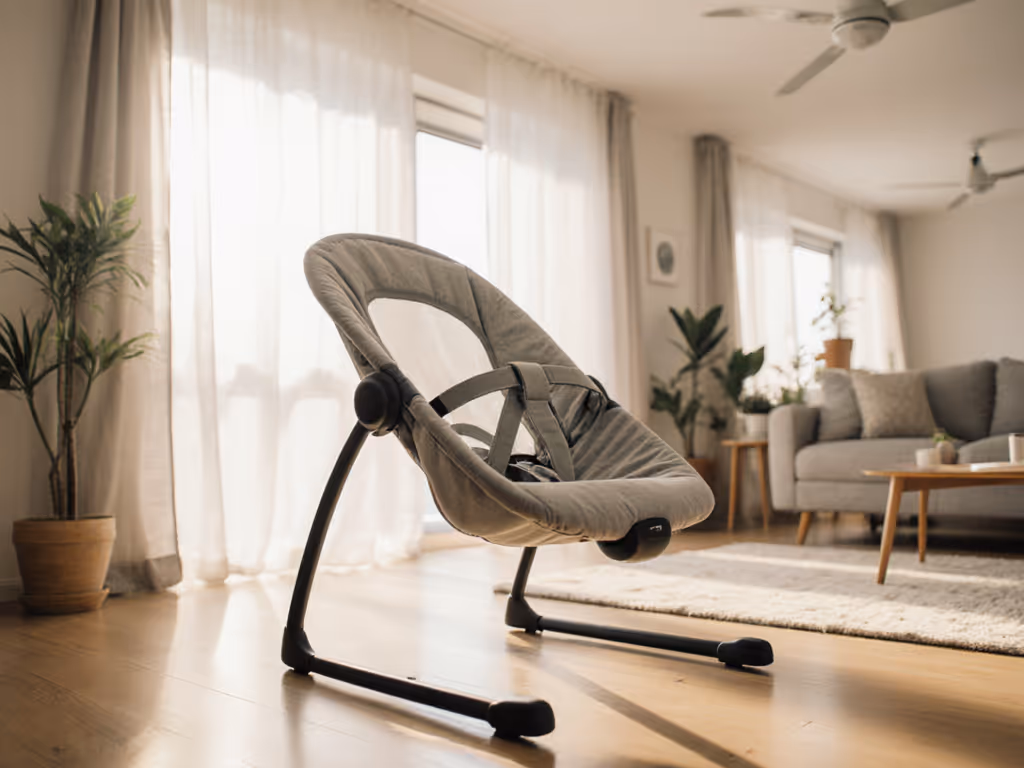
Confirm secure placement: The seat must be on a hard, level floor (never beds, sofas, or countertops). In studio apartments, position it away from curtain cords or unstable furniture.
-
Test harness snugness: Buckle it with two fingers under baby's chest. Recheck after feeding or if baby wears thicker clothing.
-
Scan for hazards: Remove any nearby throw pillows, rugs with loose threads, or dangling cords within baby's reach.
-
Check recline angle: For newborns under 4 months, ensure the seat doesn't recline beyond 35 degrees (a folded washcloth under baby's bottom can help maintain safer positioning in some models).
This isn't about perfection, it's about creating a reliable rhythm that keeps your space functional and secure. Small steps, repeated daily, make a big difference.
Step 3: Redefine "Safe Sleep" Boundaries
Here's what the AAP emphasizes: bouncer safety guidelines explicitly state these seats are for awake time only. Yet 43% of parents admit babies fall asleep in them during brief supervised periods.
When this happens:
- Within 5 minutes: Gently lift baby to a crib/firm mattress
- After 10+ minutes: Wait for deep sleep cycle (regular breathing for 3+ minutes) to minimize waking
Never leave baby sleeping in a bouncer all night. The semi-upright position increases risk of airway obstruction, especially for infants with reflux or underdeveloped neck muscles. In my tiny apartment, I'd move my sleeping baby before starting my second-song window, keeping our space peaceful while honoring safety limits.
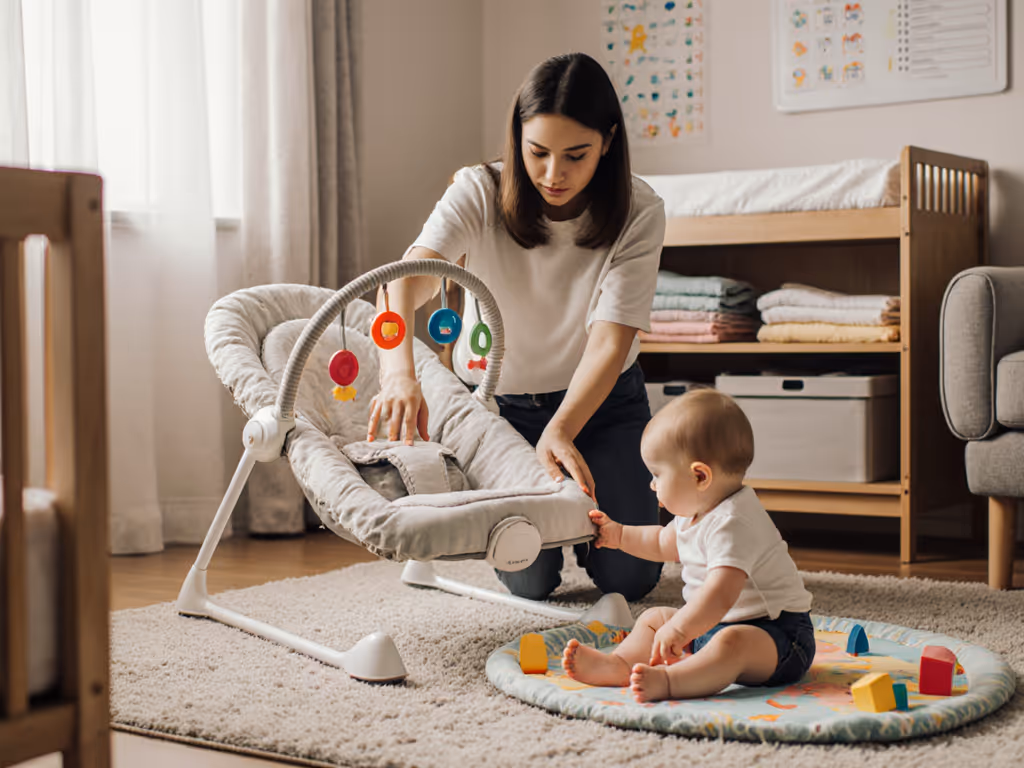
Step 4: Space-Saving Safety Adjustments
Maximize your small home's safety without sacrificing square footage:
-
Create a "zone" not a "station": Place the bouncer facing away from high-traffic areas to reduce startling, but within your line of sight during WFH calls
-
Use boundary markers: A low-profile rug (under 1/4" thick) defines the bouncer's "safe zone" without tripping hazards
-
Store essentials nearby: Keep a basket with burp cloths and wipes under your sofa rather than cluttering the bouncer itself
These subtle shifts maintain visual calm while preventing common baby bouncer hazards like accidental bumps or unreachable supplies. Keep it simple, keep it consistent.
Step 5: The Transition Timeline
When it's time to stop using your infant bouncer seat, follow this gentle progression:
| Stage | Timeline | Action |
|---|
| Pre-Transition | 1-2 weeks before stopping | Use only for 15-minute stretches during daylight hours |
| Active Transition | Week of milestone | Replace with floor-time activities (tummy time, sensory mats) |
| Post-Use | Immediately after stopping | Fold and store out of sight - visible unused gear creates mental clutter |
This phased approach prevents safety gaps while reducing "where's my bouncer?" fussiness. I'd often reset the room during those two-song windows, swapping the bouncer for a play mat before the next feeding.
Actionable Next Step: Create Your Safety Dashboard
Before your next coffee break:
-
Locate your bouncer's weight limit (check the label or manual)
-
Set a phone reminder for 3 days before that weight threshold (e.g., 18 lbs reminder for a 20 lb limit)
-
Measure your floor space: Ensure 36" clearance on all sides from furniture/walls
This takes less time than brewing your morning tea, but creates lasting peace of mind. Your small space deserves both safety and serenity (no compromises).
Remember: True safety isn't about buying more gear. It's about designing repeatable steps that fit your reality. When bouncer safety tips become part of your natural rhythm, you create room for what matters most: those quiet moments of connection in your beautifully efficient home.