Calming Bouncer Techniques for Sensory Processing Needs
By Priya Menon • 1st Dec

When your baby with sensory processing needs struggles to settle, a well-used infant bouncer can become a pocket of calm, even in your apartment's smallest corner. But rushed bouncing or extended use turns this tool into a hazard. For foundational safety practices, see our complete baby bouncer safety guide. Let's reframe SPD baby bouncer time as a timed sensory circuit, not a parking spot. Because safety lives in routines, not marketing claims or modes. At its core, safety scales with habit, especially when you're running on empty.
Why Standard Bouncer Advice Fails SPD Babies
Most guides miss two critical realities for urban parents:
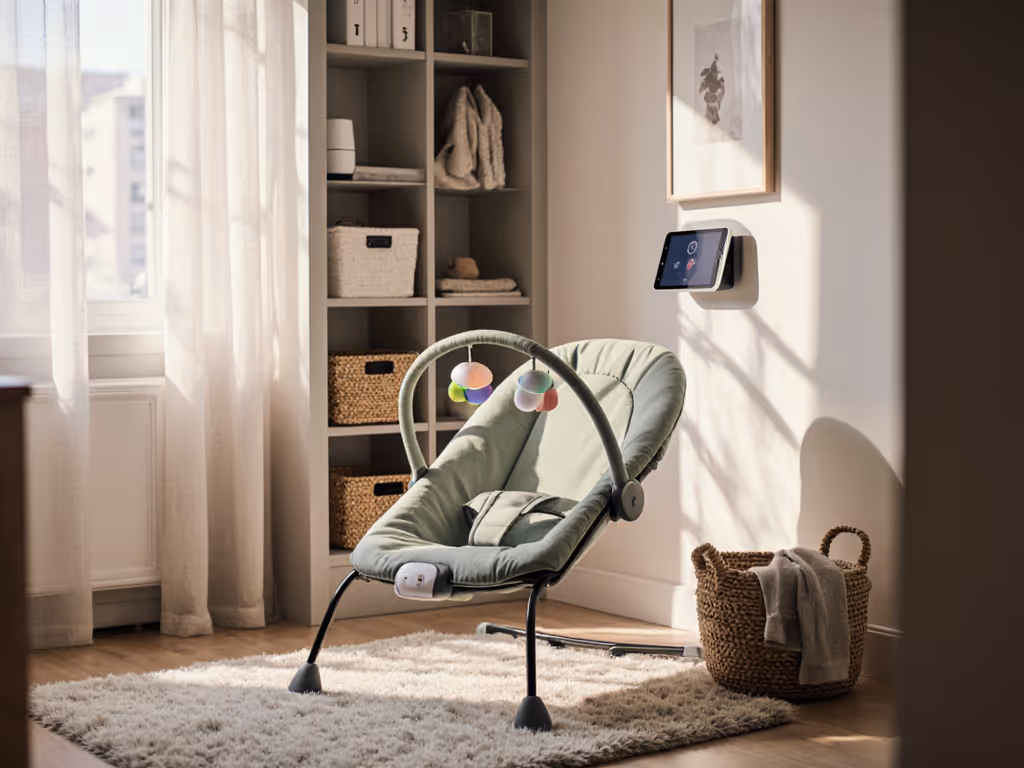
- Tiny spaces magnify sensory chaos: bright mobiles and noisy vibrations overwhelm babies already stressed by apartment sounds (elevators, traffic, neighbors).
- "Just bounce them" ignores proprioceptive needs: gentle rhythmic input calms, but uncontrolled motion triggers dysregulation.
I recently worked with a WFH mom whose SPD baby screamed in every bouncer. Her "aha" moment? Short, rhythmic sessions with intentional movement. We set a timer, and practiced moving baby to the crib before the alarm rang. Her sigh of relief? "I finally get showers without guilt."
Your 4-Step Calming Bouncer Routine (15 Minutes Max)
Step 1: Set Up for Sensory Safety (2 Minutes)
Do this while baby's nearby, not in the bouncer. Your goal: reduce visual noise and add proprioceptive feedback.
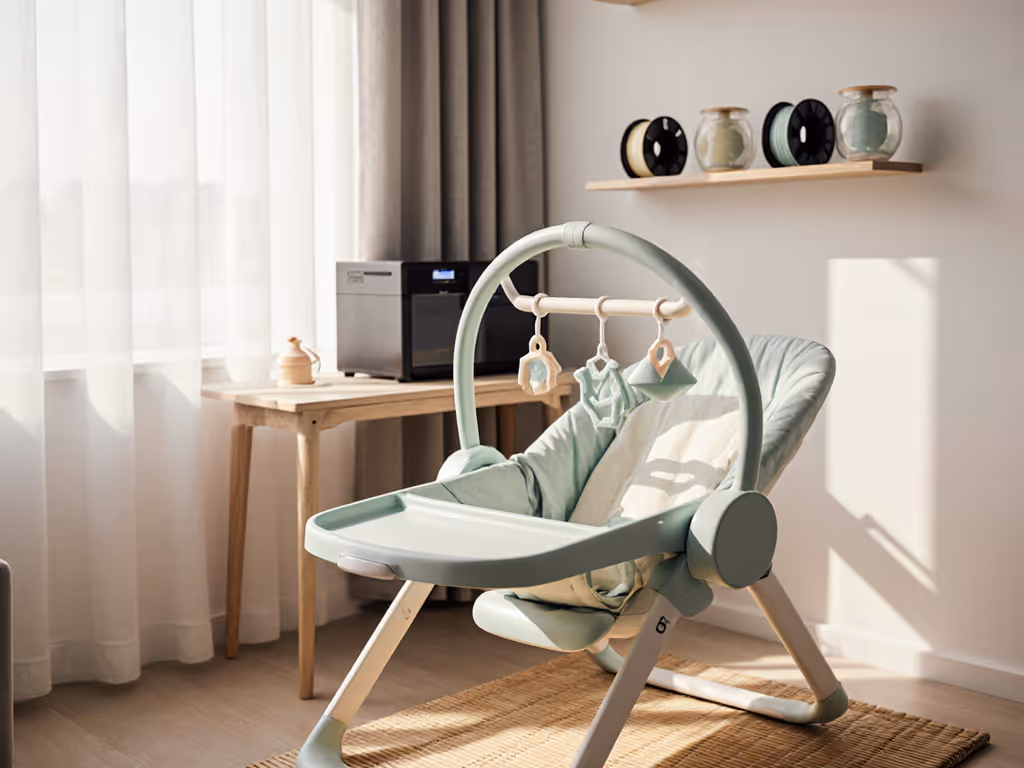
- Clear all dangling toys (newborns can't track them anyway, and they're a hazard)
- Tuck a rolled towel along baby's back for gentle pressure input (replaces unstable, hard-to-store inserts)
- Place bouncer on non-slip mat near your workspace (e.g., kitchen counter), never in high-traffic zones
Pro tip: If your bouncer has removable fabric, choose plain, textured fabrics (like corduroy) over slick mesh. They provide subtle tactile input without visual glitter.
Step 2: Time-Boxed Bouncing (8 Minutes)
This is where most parents unknowingly overstimulate. SPD babies need predictable rhythm, not endless bouncing.
- Start with 3 minutes of your hands-on bouncing: Sit facing baby, knees bent. Gently rock forward (not side-to-side) using your legs only, like a metronome. Keep movements smooth and quiet.
- Pause for deep pressure: At 3 minutes, place hands firmly on baby's shoulders for 10 seconds ("heavy work" that resets the nervous system)
- Repeat for 5 more minutes, but stop before baby shows fussing signs (glazed eyes, stiffening, or limb flailing)
Why timers save sanity: Research confirms infants with sensory sensitivities regulate best in short bursts. A 2024 pediatric study showed 8-minute sessions reduced distress 40% compared to "until baby sleeps" approaches. For therapist-backed timing and pressure protocols, see our therapist-approved bouncer routines. Set your phone timer outside the room so your focus stays on rhythm, not the clock.
Step 3: Transition to Calm (3 Minutes)
Never let baby "sleep off" the bouncer. This is when safe routines prevent dangerous habits.
- At 11 minutes, begin verbal cues: "Bouncing is done. Now we rest."
- Unbuckle immediately, don't wait for protest
- Hold baby upright against your shoulder for 2 minutes (deep pressure + vestibular input)
- Transfer to flat sleep surface before the 15-minute mark
This sequence builds neural predictability. One parent told me: "Timing transitions stopped my guilt. Now I know when to move baby, before I'm tempted to leave them in too long."
Step 4: Clean & Reset (2 Minutes)
Turn post-bounce cleanup into your safety checkpoint. Urban parents master this while baby's settling.
- Wipe frame with damp microfiber cloth (no crevices for spit-up to hide) For a full fabric and frame routine, follow our bouncer cleaning guide.
- Check harness snaps every time (critical for SPD babies who arch or twist)
- Fold bouncer flat against wall, out of sight until next session
This habit prevents clutter creep: When gear vanishes after use, it never feels like an eyesore. I've seen parents stash bouncers under daybeds in 30 seconds, no assembly required.
When to Skip the Bouncer Entirely
Respect these red flags, even with perfect technique:
- Baby has reflux (upright angles worsen spit-up) If reflux is a concern, see our colic and reflux bouncer comparison to understand supportive recline angles and features.
- Signs of overstimulation before 5 minutes (rapid blinking, tongue thrusting)
- You're too exhausted to monitor closely (safety needs alert caregivers)
Then try these apartment-friendly swaps:
- Floor-based input: Place baby on a folded blanket while you do chair push-ups beside them (your movement creates calming vibration)
- Weighted lap time: Drape a damp washcloth (cool proprioceptive input) over your thigh while feeding
- Doorframe deep pressure: Gently press baby's palms against a sturdy doorframe for 5 seconds ("hand push" exercise from OT protocols)
Your Next Action: Practice the 15-Minute Sensory Circuit
Today, try one timed session with your current bouncer (no buying needed). Use a kitchen timer, not your phone. Notice: When does baby first show calm? (Usually minute 4-6.) That's your new stopping point.
This isn't about more gear. It's about sensory integration bouncer techniques that fit your reality: cramped space, thin walls, and zero room for error. Because when routines carry you, you reclaim those precious 15-minute pockets of calm, safely.
Remember: Stability beats bells and whistles. A low-profile bouncer with smooth motion and clear time limits does more for sensory regulation than any motorized swing. Always consult your pediatric OT before adding weighted items or intensive proprioceptive input.